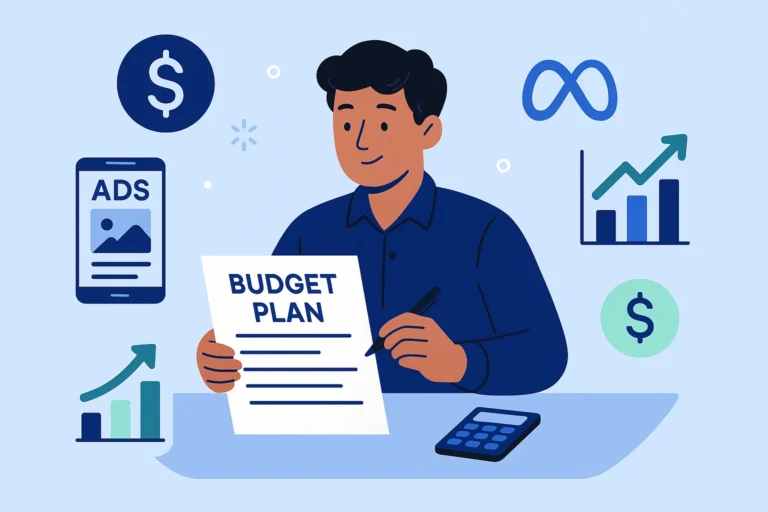
Running Facebook ads can feel overwhelming, especially if you’re a small business owner or solo entrepreneur trying it for the first time. But here’s the truth: you don’t need to be a marketing guru or hire an expensive agency to get results.
In this blog, we’ll break down a simple, actionable step-by-step plan for setting up and running your first Meta (Facebook and Instagram) ad campaign. This guide is made especially for beginners who want to do it themselves.
Let’s get started!
Step 1: Define Your Objective
Every successful campaign begins with one clear goal. Ask yourself:
- Do I want more website visitors?
- Do I want to generate leads?
- Do I want to get more sales?
Choose your objective inside Meta Ads Manager accordingly:
- Traffic = website visits
- Leads = contact form submissions
- Sales = purchases or checkout completions
This selection tells Meta how to optimize your campaign.
Step 2: Know Your Audience
The biggest mistake beginners make? Trying to reach everyone.
Instead, narrow your audience using:
- Location (e.g. your city or service area)
- Age/Gender (based on your ideal customer)
- Interests & Behaviors (e.g. fitness, skincare, real estate, online shopping)
Tip: The more specific your targeting, the less money you waste.
If you’re unsure, grab a ready-made audience strategy PDF from Targeted Audience Solutions.
Step 3: Design Your Ad Creative
This is what people actually see — make it count!
- Image or Video: Choose clear, engaging visuals. Use real images of your product, store, or results.
- Primary Text: Explain your offer clearly. Keep it benefit-driven.
- Headline: Hook your audience. e.g. “Get Glowing Skin in 7 Days”
- CTA (Call-to-Action): Use a strong CTA like “Learn More,” “Book Now,” or “Shop Now.”
Avoid too much text in the image. Meta may limit reach if it’s overloaded.
Step 4: Set Your Budget & Schedule
You don’t need a huge budget to start. Try:
- Daily budget: $5 to $10/day
- Campaign duration: 7 days to start
Let Meta gather data before making any decisions. Don’t pause or edit within the first 3 days.
Step 5: Choose Placement (Or Let Meta Decide)
As a beginner, let Meta auto-place your ad on:
- Facebook feed
- Instagram feed
- Stories
- Reels
- Messenger
Once you’re confident, you can manually test placements later.
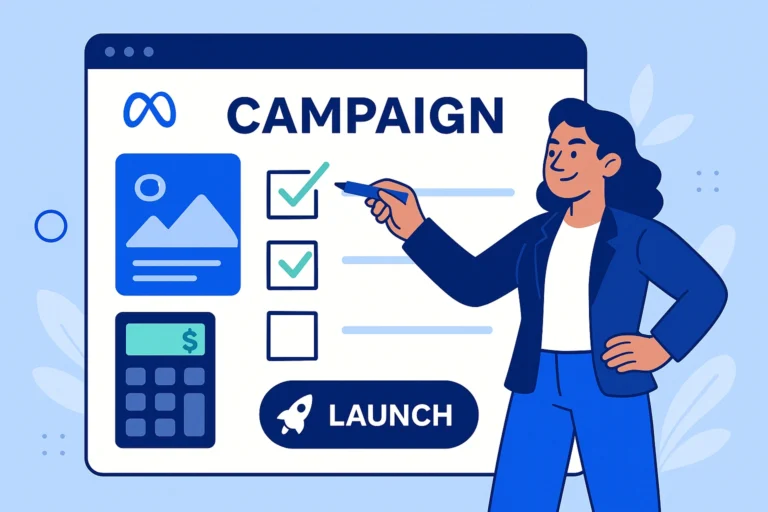
Step 6: Launch and Monitor
Click “Publish” and you’re live! Give your ad at least 3 days to stabilize.
After that, start monitoring:
- CTR (Click-Through Rate) – Are people clicking?
- CPC (Cost Per Click) – Are clicks affordable?
- Leads or Sales – Are you getting what you aimed for?
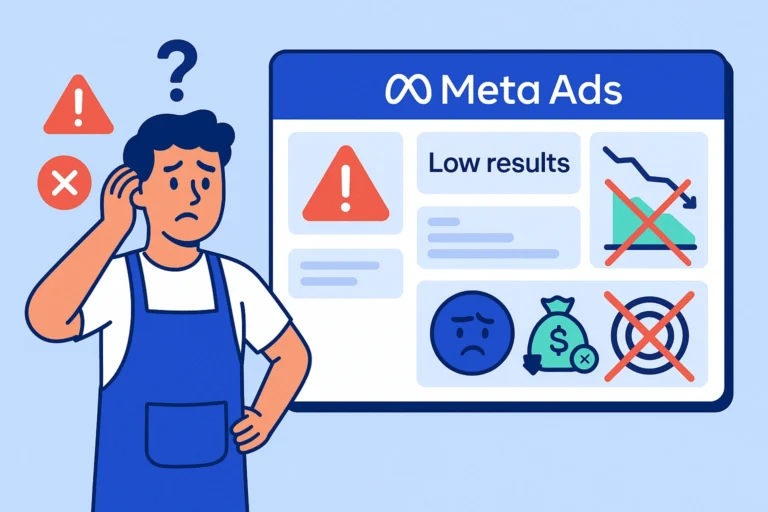
If something is way off, pause and revise.
Step 7: Optimize for Better Results
After 7 days, review your results and do one of the following:
- Winning ad: Duplicate it with a new budget or audience
- Poor performance: Try new image, headline, or audience
Meta Ads are a mix of art and testing. Don’t be afraid to experiment.
Need Help or a Done-For-You Option?
At Targeted Audience Solutions, we offer a special DIY Ad Strategy PDF Plan that gives you pre-researched audiences and a step-by-step checklist tailored for your business.
Want us to set it all up for you? Check out our pricing plans or get a quote.
Final Thoughts
Your first ad won’t be perfect. But with this simple plan, you can launch confidently and start learning what works.
The key is to start small, stay consistent, and let the data guide your next steps. DIY Facebook advertising in 2025 isn’t just doable—it’s a smart move for small business growth.